Introduction
Are you facing difficulties using IndexedDB in angular4 or angular2 ?
Well, you are reading the right article. You will be able to use IndexedDB all functionality in simple way after reading this article.
In this article i am going to explain - how to do crud operation in angular4 using indexedDB wrapper JsStore.
If you are thinking - what is JsStore ?
JsStore is an IndexedDB wrapper. It provides simple sql like api to do db operations and makes IndexedDB simple.
So In this article we will replace IndexedDB with JsStore .
Enough of the words , lets do something.
If you want the source code , you can download it from here - https://github.com/ujjwalguptaofficial/angular4.crud.jsstore
Prerequisites
You should have basic knowledge of
- html
- css
- javascript
- angular2 or angular4
- indexedb (not necessary)
Let's Code
Create Angular project
First we will have to create a angular project. I am showing you how to do with angular cli.
- Setup development environment - Install Node.js and npm if they are not installed.
- Install angular cli - execute the below code in a terminal window.
npm install -g @angular/cli
- Create a new project - execute the below command to create an angular project.
ng new <AppName>
You can choose any application name - i am choosing "my-app".
Please keep patience , It will take some time to create the project. - Run Project - Goto the project directory and run the project.
Cd my-app
ng serve
It will take some time to compile the project. When it will be compiled , you will see a message - "Webpack compiled successfully".


Now open address - http://localhost:4200/ in browser . You will see output like this -

Create Component and Service
Run the below command to create the component -
ng generate component student
This component will be used to write the business logic.
Now lets create the service to write the data logic. This way our code will be clean and easy to maintain.
Run the below code in terminal -
In the above code - i have added the StudentService in the providers array.
Now to check the new component. We need to add the component selector tag in app.component.html
Replace the code with the below code -

Now lets create the service to write the data logic. This way our code will be clean and easy to maintain.
Run the below code in terminal -
ng g service service/student
This will create a new student service inside the Service folder.
Now we need to add Service student inside component student . Copy the below code inside the file - student.component.ts
Now we need to add Service student inside component student . Copy the below code inside the file - student.component.ts
In the above code - i have added the StudentService in the providers array.
Now to check the new component. We need to add the component selector tag in app.component.html
Replace the code with the below code -
<app-student>
</app-student>
Run the command - "ng-serve". You should see the below output.

Download JsStore
Run the below command in terminal to install JsStore -
npm install jsstore --save
it will download the JsStore and save the dependencies in package.json .
now everything is setup, we just need to write the code.
now everything is setup, we just need to write the code.
Create Database
Creating database in JsStore is simple. It uses Sql approach - A database consist of multiple tables and a table consists of multiple columns.
Please take a look at the jsstore doc to create the database -
1. Create the table doc - http://jsstore.net/tutorial/create_table
2. Create database doc - http://jsstore.net/tutorial/create_database
Since database connection will be used by all the services, so it will be good if we keep the code for creating and opening database in a common service.
So lets create a common service . Execute the below code in terminal -
now lets write the code to create the database and get the connection. Copy the below code in the common.service.ts -
The above code will create the database and store the JsStore Connection in _connection property.
Now for making it common, we need to register this as provider in app.module.ts . This will make sure that JsStore will be initiated one time only for the whole app and can be used everywhere.
In order to use CommonService, we will have to inject the CommonService in StudentService. Copy the below code in the student.service.ts -
The above code will copy the JsStore Connection in _connection property - initiated in CommonService.
So any service who needs JsStore connection can inject the CommonService and copy the _connection property.
Run the below command to check if everything is good or not.
To update the typescript version, run the below command -
Please take a look at the jsstore doc to create the database -
1. Create the table doc - http://jsstore.net/tutorial/create_table
2. Create database doc - http://jsstore.net/tutorial/create_database
Since database connection will be used by all the services, so it will be good if we keep the code for creating and opening database in a common service.
So lets create a common service . Execute the below code in terminal -
ng g service service/commonThis will create the CommonService in service folder
now lets write the code to create the database and get the connection. Copy the below code in the common.service.ts -
The above code will create the database and store the JsStore Connection in _connection property.
Now for making it common, we need to register this as provider in app.module.ts . This will make sure that JsStore will be initiated one time only for the whole app and can be used everywhere.
In order to use CommonService, we will have to inject the CommonService in StudentService. Copy the below code in the student.service.ts -
The above code will copy the JsStore Connection in _connection property - initiated in CommonService.
So any service who needs JsStore connection can inject the CommonService and copy the _connection property.
Run the below command to check if everything is good or not.
ng buildIf it shows error - "In ambient enum declarations member initializer must be contant expression" then we need to update the typescript version.
To update the typescript version, run the below command -
npm install typescript@latest
Read data
JsStore provides select api to select the data from IndexedDB.
Please have a look at select api document - http://jsstore.net/tutorial/select
Lets first create a student model - execute the below command
ng generate class model/student
This will generate a class Student in folder Model.
Now we need to define our student model. So copy the below code in the file student.ts under folder model -
In the above code i have also created the interface. It is a good practice to have an interface of class.Now we need to define our student model. So copy the below code in the file student.ts under folder model -
Now lets write the code to select the students from indexedDB . Since it is data related code, so we will write it in Service.
Copy the below code inside the class StudentService -
Looks simple and clean Right ?
Now we need to call getStudents from component student . Copy the below code inside the file - student.component.ts
In the above code -
- A method getStudents is created which calls the method - getStudents in the service and store the list of students inside the class member - _students.
- We have imported NgModel.
For more about the NgModel. Please check the official doc - https://angular.io/api/forms/NgModel
We have written business and data logic to get the students. Now we need to write the code for view. So lets write it.
Copy the below code inside the file - student.component.html
- I have loop through "_students" variable.
- I have also kept student id as attribute "data_id". We will use this later for identifying the student.
Before runing the code , lets add some styles. Copy the below css code in the student.component.css file -
Some styles will be used later. I hope you are able to understand these css.
Now everything is done. So lets see the output in browser . Run the command - "ng serve" and open the address localhost:4200
Some styles will be used later. I hope you are able to understand these css.
Now everything is done. So lets see the output in browser . Run the command - "ng serve" and open the address localhost:4200
Bang Bang
Oh we have errors right ?

It is saying - JsStore is not defined. That is because , we have not included the jsstore.js file . So lets include the file.
Open the angular-cli.json and add the "../node_modules/jsstore/dist/jsstore-1.3.0.min.js" inside the scripts array.
Note :- Please check your JsStore version. It may be changed for your code, so you need to use that version.
Note :- Please check your JsStore version. It may be changed for your code, so you need to use that version.

now compile the code and see the output in browser.
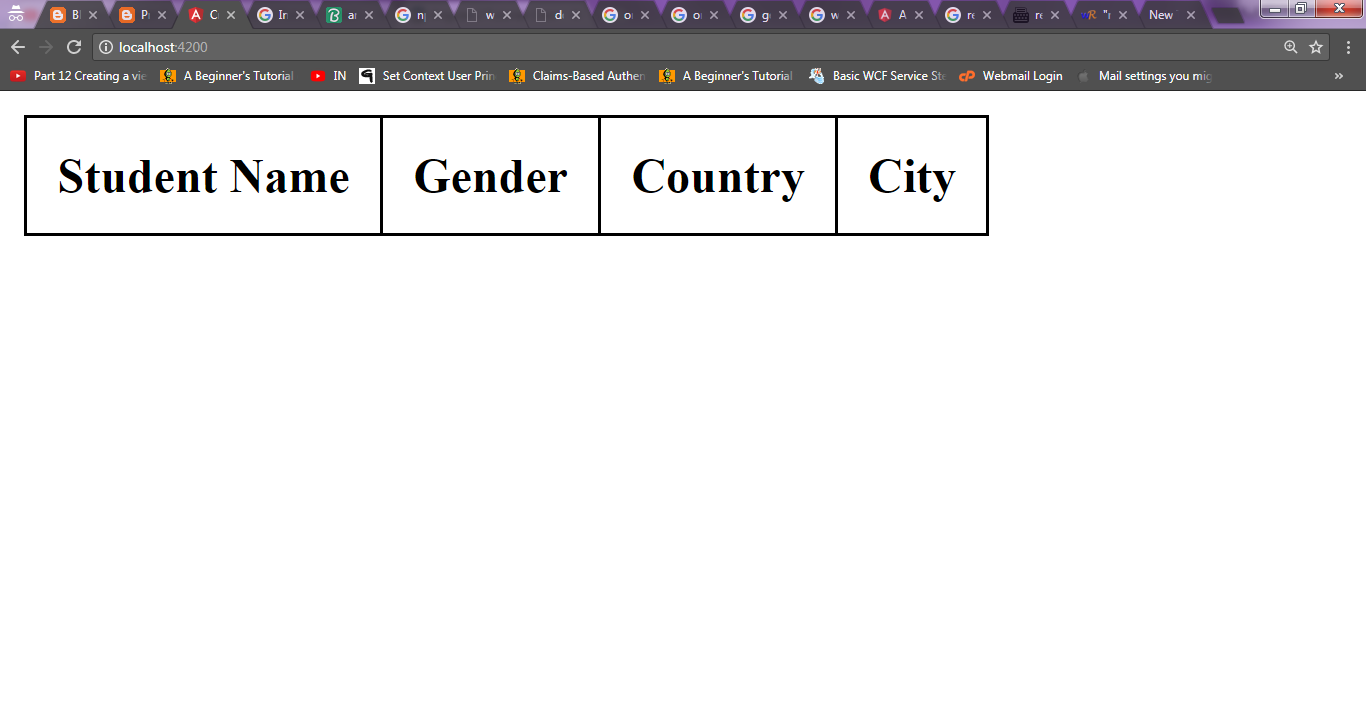
There is only table heading but no data. This is because we have not inserted any data.
Insert Data
JsStore provides insert api for inserting data into IndexedDB.
Please have a look at insert api doc - http://jsstore.net/Tutorial/insert
Now we need to write the code for adding student. So lets write the code in student service.
Copy the below method in student.service.ts
In the above code -
- A class member _newStudent has been created. This will be used to keep the new student information. Basically it will be used to bind with the view.
- A method addStudent is written. It will call the addStudent in the service supplying the new student which will add data in JsStore.
- A method clearNewStudent is written, which will clear the student value written in textbox.
now we have successfully written business logic and data logic. Its time for creating view for adding data.
Copy the below code inside the file - student.component.html
- We have added a new table row which is used to add the student. We have binded _newStudent with the textbox.
- Method addStudent will be called for add buttton.
- method clearNewStudent will be called for cancel button.
Now lets see the output.

lets test the add function -

Delete data
JsStore provides delete api for deleting data .
Please read the delete api doc - http://jsstore.net/tutorial/delete
Lets write the code for deleting student. We need to delete a particular student, so we will use student id for deleting particular data.
Add the below method in student.service.ts -
Now we need to create the view to delete data. Just add the below code in last cell of second row -

Now everything is done. Lets test the code.

Update data
JsStore provides update api for updating data.
JsStore Update docs - http://jsstore.net/tutorial/update
Lets write the code for updating students in student service. Copy the below code in student.service.ts
In the above code -- updateStudent method is written, which will update the student by student id.
- getStudent method is written, which returns student by id.
Now we need to call these methods from component
In the above code -
- A class member _oldStudent is created. It is used to keep the student info which is in edit mode.
- Method getStudent is created, which will be used to set the _oldStudent variable by student id.
- Method updateStudent is created, which will be used to update the edited student.
In the above code -
- We have kept a temporary variable editing. It will be used to check whether the table cell is edit mode or not.
- When edit button is clicked - we set the editing to true and call the getStudent which will set the student info inside the _oldStudent.
- When Update button is clicked - we set the editing to false and call the updateStudent which will update the student.
Rest are simple html code.
Now lets test the result in browser -


Now we are done with Crud Operation.
But have you noticed that there is a warning message - which says "JsStore is not runing inside the web worker" ?
This means that JsStore can not run the code inside the web worker. It is because the JsStore code is compiled with Angular code. So we need to keep JsStore code seperate with Angular code.
To do this -
1. We will have to remove the script from the angular-cli.json which we have added earlier.

2. Copy the JsStore file from node_modules and paste it in assets folder. You can also keep it somewhere accessible.


3. Add the script in index.html

Now we are done.
Recompile the project again (otherwise you may get some erros) and see the output in browser.
Now open the console - the warning message should be gone now.
That was hell of coding. Thanks for reading it guys.
You can download the article here - https://github.com/ujjwalguptaofficial/angular4.crud.jsstore
Comments
Post a Comment